


This guide explains the garage door hinge replacement process from start to finish, including how to spot worn hinges, understand hinge types, choose the right replacement parts, and avoid common mistakes. It also covers safety tips, rust damage, and when Canadian homeowners should call a professional.
Why garage door hinge replacement matters
Garage door hinges do more than connect sections of the door. They help the panels bend smoothly as the door moves along the track. When hinges start to fail, the whole system can become noisy, uneven, and unsafe. For many Canadian homeowners, hinge replacement is a small repair that can prevent larger and more expensive problems later.
Worn hinges and broken hinges are often ignored because the garage door may still open for a while. The trouble is that damaged hinges put extra strain on rollers, tracks, panels, and even the opener. In cold Canadian weather, metal parts can also become more brittle, while moisture and road salt can speed up rust damage. That combination makes regular checks especially important.
If your door is jerking, squeaking, or looking uneven, it may be time for professional garage door repair services. A trained technician can confirm whether the issue is limited to hinge replacement or if other replacement parts are also needed.
Common signs of worn hinges
Most homeowners notice hinge trouble through sound or movement. A healthy garage door should move with steady, controlled motion. If it starts acting differently, inspect the hinges closely.
Watch for these warning signs
- Squeaking, grinding, or popping sounds during operation
- Visible cracks or bends in the hinge metal
- Loose screws or enlarged mounting holes
- Orange staining or flaking caused by rust damage
- Door sections that do not line up properly
- Rollers that seem to sit at an odd angle
Broken hinges can cause one panel to pull harder than the next. That can lead to panel stress, roller wear, and track alignment issues. In some cases, a damaged hinge also signals that the door has been operating under too much force for some time.
Why hinge problems should not be delayed
Putting off hinge replacement can make a simple repair much more serious. A single bad hinge may seem minor, but garage doors are heavy systems with many moving parts. When one hinge fails, the load shifts to nearby hinges and rollers. Over time, that can crack panel edges or damage fastener holes.
In Canada, homeowners also need to think about seasonal expansion, freezing temperatures, and moisture exposure. These conditions can worsen worn hinges quickly. If the door is already struggling, winter can speed up failure. That is one reason many property owners schedule hinge maintenance and inspections before the coldest months arrive.
Understanding garage door hinge types before replacement
Before starting any hinge replacement, it helps to know that not all hinges are the same. Garage door systems use specific hinge types based on panel position and roller spacing. Installing the wrong part can affect how the door bends and moves through the track.
Most sectional garage doors use a combination of center hinges and end hinges. While they may look similar at first glance, they serve different purposes and are not always interchangeable.
Centre hinges vs. end hinges
Centre hinges are mounted between the middle points of two door sections. Their main job is to keep the sections connected while allowing the door to flex as it opens and closes. These hinges do not usually hold rollers.
End hinges are installed near the outer edges of the door sections. These are more specialized because they often include a sleeve or attachment point for the roller shaft. Because of that added function, end hinges are more likely to vary by number and shape.
When homeowners confuse centre hinges with end hinges, they can buy incorrect replacement parts. Even if the hinge bolts into place, the roller position may be wrong, which affects door travel and track fit.
What numbered hinges mean
Many sectional garage doors use numbered hinges, especially at the ends of the panels. Numbered hinges are designed to place the roller at a specific distance from the panel. This spacing helps the door curve properly as it moves from vertical to horizontal along the track.
For example, a #1 hinge is different from a #2 or #3 hinge. The number usually reflects the offset needed for that panel position. Using the wrong numbered hinges can cause rubbing, poor alignment, or extra stress on the track and rollers.
How to identify numbered hinges
- Look for a stamped number on the hinge body
- Check the hinge location on the door before removing it
- Compare the shape and roller carrier position
- Take a clear photo before buying replacement parts
If the number is not visible because of paint or rust damage, a technician may need to match the hinge by door model and panel position. If you need expert installation, it is often safer to have the door assessed before ordering hardware.
Choosing the right replacement parts
The best replacement parts match the original hinge size, thickness, hole pattern, and number. Material quality matters too. In many parts of Canada, galvanized or corrosion-resistant hardware is a smart choice because it stands up better to humidity, snow, and salt exposure.
When selecting new hinges, consider:
- Door brand and model, if known
- Whether the hinge is a centre hinge or end hinge
- The hinge number stamped on the old part
- Metal thickness and overall strength
- Signs of surrounding panel wear that may require more than a hinge
Some homeowners replace only the visibly damaged hinge, while others replace several worn hinges at once to keep the system balanced. That decision depends on age, condition, and whether the existing hardware shows widespread corrosion or fatigue.
In some cases, damage around the hinge area is not limited to the hardware. Cracked panel edges or pulled fasteners may mean the section itself needs attention. If that happens, related solutions such as garage door panel replacement may be worth considering.
Preparing for the garage door hinge replacement process
Good preparation is one of the most important parts of safe hinge replacement. Garage doors are under tension, and not every hinge can be removed the same way. While many centre hinges can be changed with the door secured in place, some end hinges sit close to components that should be handled carefully.
Safety comes first
Before any work begins, disconnect the opener and keep the door in a stable position. Never remove hardware without understanding whether it affects roller support or nearby tensioned parts. Hinges themselves are not springs, but they connect to a system that includes cables, rollers, and high-tension components.
Homeowners should be especially cautious if the door is already crooked, binding, or dropping unevenly. Those symptoms may point to bigger issues than worn hinges alone. In that situation, contact our certified technicians for a proper inspection.
Basic tools often used
- Socket set or wrench
- Screwdriver or drill with the correct bit
- Locking pliers or clamps
- Work gloves and eye protection
- Matching replacement parts and fasteners
It is also smart to inspect nearby rollers, brackets, and fastener holes before starting. If rust damage has spread or the panel material is weak, simply changing the hinge may not solve the root problem.
When DIY may not be the best option
Some hinge replacement jobs are manageable for experienced DIY homeowners, especially when replacing a clearly identified centre hinge on an otherwise healthy door. But if the hinge is bent around a roller, the panel is cracked, or the door has multiple broken hinges, professional help is the safer route.
Canadian building expectations also favour safe, properly functioning garage doors, especially where attached garages affect home security and energy performance. A repair done incorrectly can lead to premature wear, poor sealing, and unreliable operation.
For homeowners across Toronto, Mississauga, Ottawa, and other Ontario communities, getting the right diagnosis early can save time and money. Learn more about available support through Priority Garage Doors’ garage door services if you are unsure whether your hinges, panels, or rollers are the main issue.
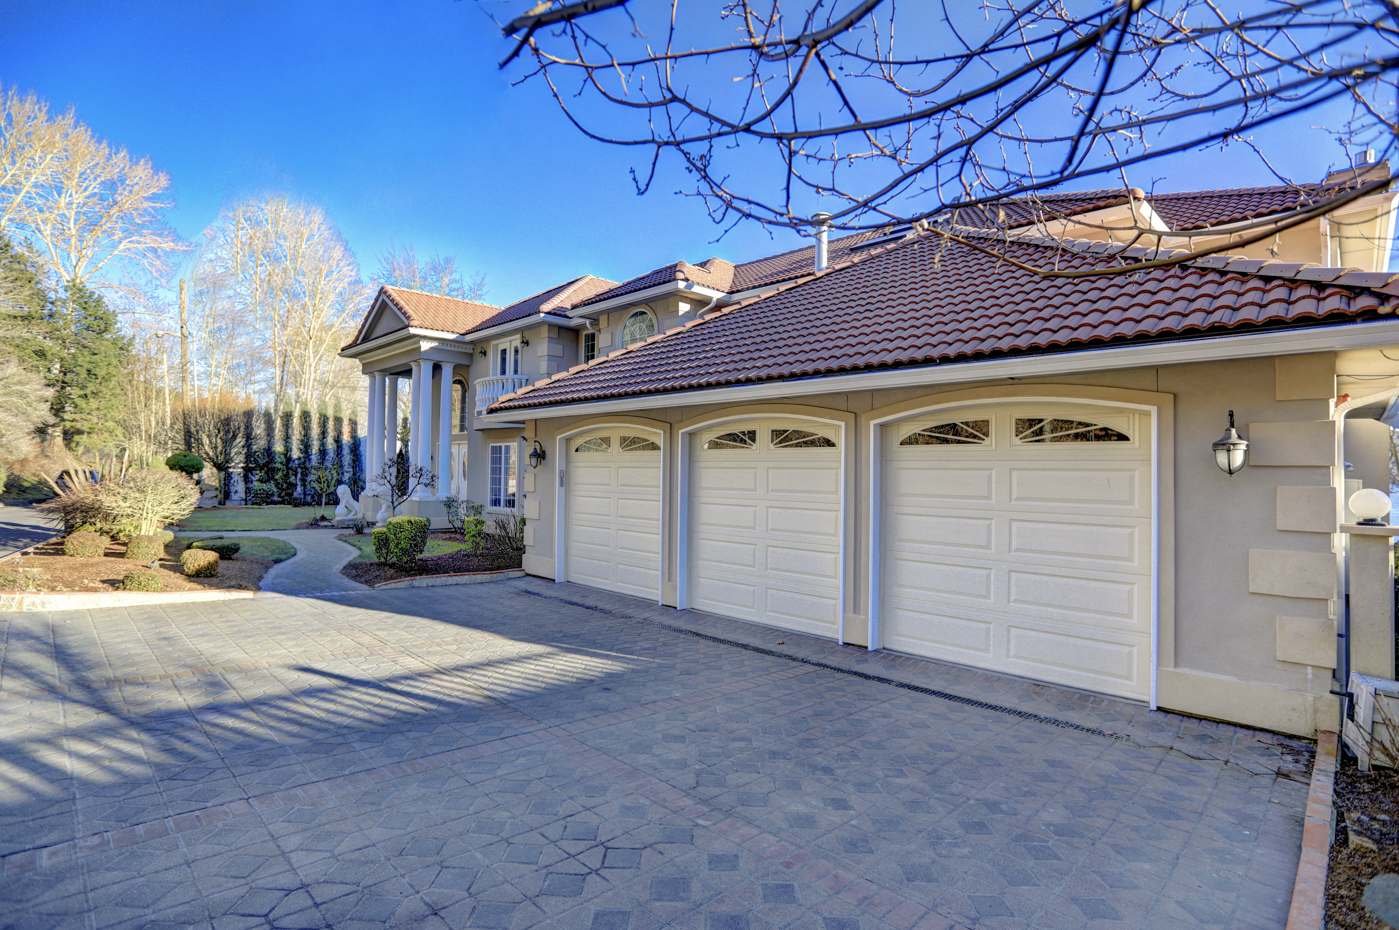
Step-by-step garage door hinge replacement process
Once you have identified the correct hinge types and gathered matching replacement parts, the next step is the actual hinge replacement. The exact method can vary by door style, but the goal is always the same: remove the damaged part without shifting the door, then install the new hinge in the same position.
1. Secure the door before removing anything
Start with the garage door in the closed position whenever possible. Disconnect the opener so nobody can activate it by accident. Use locking pliers or clamps on the track to keep the door from moving while you work. This is especially important when dealing with end hinges, because they help support roller position near the sides of the door.
If the door is stuck partly open, uneven, or placing unusual pressure on one side, stop and arrange emergency garage door repair. A door in that condition may have more than worn hinges, and forcing a repair can make the situation unsafe.
2. Check the hinge location and number
Before loosening screws, confirm whether you are replacing centre hinges or end hinges. If it is an end hinge, verify the stamped number one more time. Numbered hinges must go back into the same panel position unless the manufacturer specifies otherwise.
This is where many DIY mistakes happen. A homeowner may remove a broken hinge, then realize later that the replacement parts do not match the offset. Taking a photo before removal helps you compare hole spacing, shape, and roller placement.
3. Remove fasteners carefully
Use the correct socket or screwdriver bit and remove the fasteners slowly. If screws are rusted in place, do not strip them by forcing the tool. A penetrating lubricant can help loosen corrosion caused by rust damage. If the mounting area is badly deteriorated, inspect the panel for cracks or enlarged holes before installing the new hinge.
With centre hinges, removal is often more straightforward because there is no roller shaft attached. With end hinges, support the roller area carefully so it does not shift out of alignment. If the roller, cable, or track looks stressed, it is wise to book professional garage door repair services instead of continuing on your own.
4. Install the new hinge in the same orientation
Place the new hinge exactly where the old one sat. Use matching fasteners and tighten them firmly, but do not overtighten to the point that you damage steel or wood backing. If the old holes are weak, the repair may require reinforcement or a different solution beyond standard hinge replacement.
For numbered hinges, double-check that the replacement sits at the correct angle and that the roller carrier lines up naturally with the track. For centre hinges, make sure the two sections remain evenly connected with no twisting between panels.
5. Test the movement by hand first
After installation, remove the clamps and test the garage door manually before reconnecting the opener. Lift it slowly and watch how the repaired section bends through the track radius. The movement should be smooth, with no popping, binding, or pulling at the panel edge.
If the door still looks uneven, the issue may involve more than broken hinges. Rollers, cables, tracks, or springs may also need attention. In that case, homeowners can explore garage door services for a full inspection and proper repair plan.
Common problems during hinge replacement
Even when the correct replacement parts are used, hinge replacement does not always go perfectly. Older garage doors often have hidden wear around the hardware, especially in Canadian climates where moisture, freeze-thaw cycles, and salt exposure speed up metal fatigue.
Stripped holes and weak panel material
If a hinge has been loose for a long time, the mounting holes may be stretched or torn. Simply installing a new hinge over damaged holes may not hold for long. This is common when worn hinges were ignored and the panel kept flexing under load.
When the panel edge is cracked or the metal is pulling away, the repair may involve reinforcement or section replacement rather than hardware alone. This is one reason technicians inspect the surrounding structure, not just the hinge itself.
Rust damage that spreads beyond the hinge
Surface rust can often be managed, but deep rust damage is different. If corrosion has affected screws, panel skins, roller stems, or brackets, replacing one hinge may only solve part of the problem. Homeowners in Ontario cities such as Toronto, Ottawa, and Hamilton often see this after years of winter exposure.
Regular lubrication and seasonal checks help, but once rust causes flaking metal or loss of strength, the safest choice is a more complete repair. If you need expert installation, a trained technician can confirm whether the door is still structurally sound.
Misalignment after installing new hinges
If the door rubs the track or the roller sits at an odd angle after the repair, the wrong hinge may have been installed or the panel may already be warped. This is especially common with numbered hinges when a #2 or #3 is accidentally swapped.
Signs the repair needs professional follow-up
- The door jerks or binds near the curve of the track
- The new hinge sits flat, but the roller does not align properly
- The panel gap looks wider on one side
- There are multiple worn hinges across the door
- Other components show strain, including cables or rollers
When these signs appear, it is better to stop than to keep adjusting hardware by trial and error. Homeowners can contact our certified technicians for a safer diagnosis, especially if the door serves as a main entry point to the home.
Hinge maintenance tips and when to call a professional
The best way to reduce future hinge replacement is through simple hinge maintenance. Garage door hinges do not last forever, but they do last longer when the entire system is clean, balanced, and properly lubricated.
Simple maintenance that helps hinges last longer
Inspect hinges a few times each year, especially before winter and after heavy weather changes. Look for loose screws, rust damage, worn pivot points, and changes in door movement. Clean away dirt buildup and apply a garage-door-safe lubricant to moving metal contact points as recommended by the manufacturer.
It also helps to listen to the door. New noises are often the first clue that hinge types, rollers, or fasteners are wearing out. Booking our maintenance services can catch small problems before they turn into broken hinges, damaged panels, or opener strain.
Know when hinge replacement is not a DIY job
Some homeowners are comfortable changing a single centre hinge. But if the repair involves end hinges, multiple numbered hinges, severe rust damage, or a door that is out of balance, professional help is the smart option. Canadian safety expectations for residential garage doors make proper operation important not only for convenience, but also for home security and dependable access in all seasons.
You should call a professional if:
- More than one hinge is cracked or missing
- The panel is splitting around the fasteners
- The roller has come out of position
- The door is crooked, heavy, or slamming shut
- There are related issues with springs, cables, or tracks
In these cases, a full system check is worth it. What looks like a simple hinge replacement may actually point to larger wear patterns across the door.
Garage door hinge replacement is a practical repair, but it needs the right hinge types, the right numbered hinges, and careful attention to safety. Replacing worn hinges early can prevent broken hinges, reduce rust damage, and protect other replacement parts from unnecessary strain. If your garage door is noisy, uneven, or showing visible hardware wear, Priority Garage Doors can help with trusted service across Canada. Reach out today to schedule an inspection and get the right repair before a small hinge issue becomes a bigger problem.




